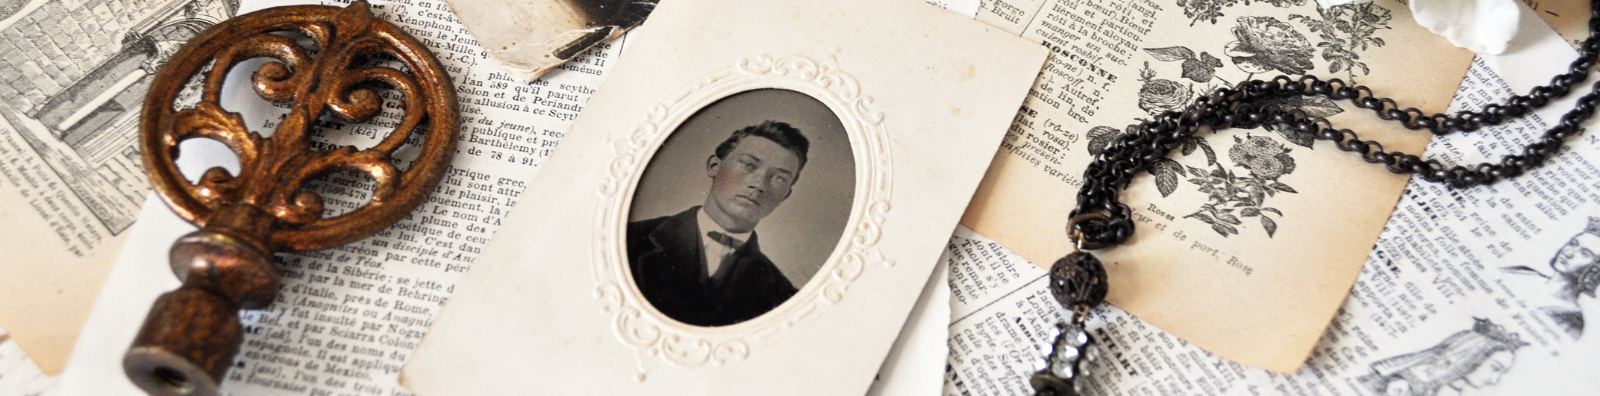

In our digital age, preserving memories means more than just keeping physical photo albums tucked away on a shelf. Digitizing your old photo albums is a fantastic way to ensure these precious moments are preserved for future generations while also making them easily accessible. In this blog post, the knowledgeable volunteers at Las Vegas Family History share a step-by-step guide to help you get started.
Step 1: Gather Your Supplies
Before diving into the digitization process, gather the necessary supplies. You’ll need a good-quality scanner or a smartphone with a high-resolution camera. Additionally, consider using photo editing software to enhance the images after scanning. Organizing your workspace will also make the process smoother; set up a clean, flat surface where you can work comfortably.
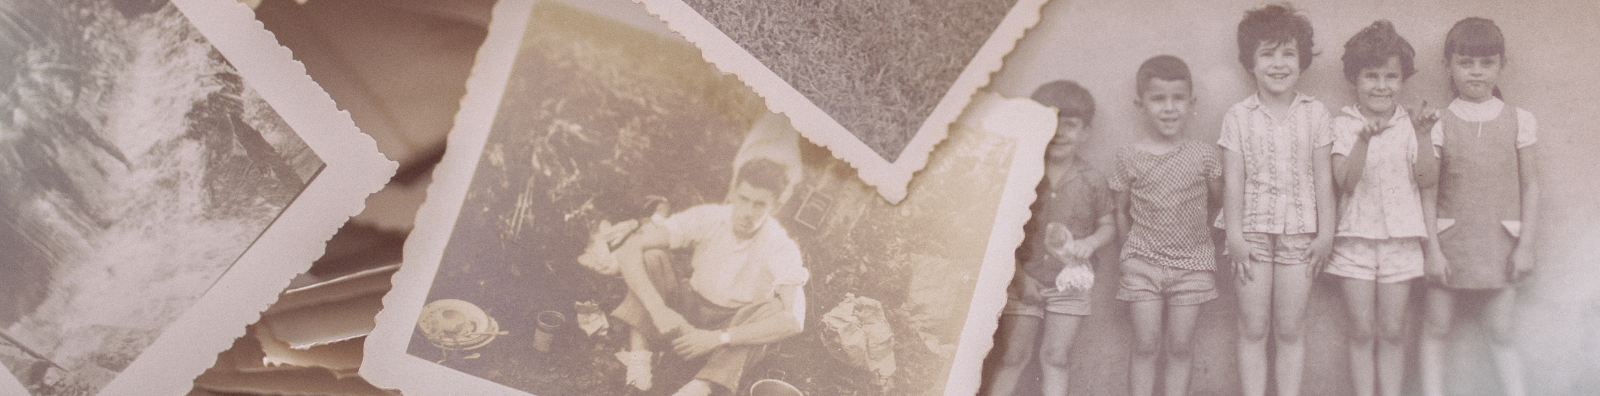
Step 2: Sort and Prepare Your Photos
Begin by sorting through your albums. Remove photos carefully to prevent damage, and organize them into categories—such as events, family members, or time periods. This organization will make it easier to create digital folders later. Check for any physical damage, and consider cleaning your photos gently with a soft, dry cloth to ensure the best scan quality.
Step 3: Scan or Photograph the Images
If using a scanner, set it to a resolution of at least 300 DPI for optimal quality. Scan each photo individually, taking care to adjust the settings if you notice any color distortion or issues with clarity. For smartphone users, utilize apps designed for photo scanning, which can help crop and enhance the images automatically. Ensure good lighting and a steady hand to capture the best results.
Step 4: Organize Your Digital Files
Once you’ve digitized your photos, it’s time to organize them on your computer. Create a folder structure that mirrors the organization you used for your physical albums. Use clear naming conventions for files, including dates and descriptions, which will help you find specific images quickly in the future.
Step 5: Edit and Enhance Your Images
After organizing your files, consider enhancing your images using photo editing software. Basic adjustments such as cropping, brightness, contrast, and color correction can significantly improve the quality of your scanned photos. There are numerous user-friendly options available, from free software to more advanced programs, depending on your editing skills.
Step 6: Backup Your Digital Files
The final step in the digitization process is to back up your digital files. Use an external hard drive, cloud storage services, or both to ensure your memories are safe from accidental loss. Creating multiple backups in different locations can provide extra security. This step is crucial to preserving your digital albums for years to come.
Photo Digitization & Family History Classes in Las Vegas, NV
Digitizing your old photo albums not only helps preserve your cherished memories but also makes sharing them with family and friends much easier. By following these steps, you can create a digital archive that will stand the test of time. So gather your supplies, get started, and enjoy the journey through your photographic history! If you need assistance, the volunteers at Las Vegas Family History have the technology needed to help you digitize your photos. Visit our classes every Thursday to get more info and visit Las Vegas Family History website for more details.